
How to use Strada with Turbo Navigator
Turbo Native has evolved…
…and is now Hotwire Native. Many concepts still apply but this post is not yet fully compatible. Subscribe to my newsletter to know when this is updated.
Not too long ago 37signals officially launched Strada, the long-awaited third and final piece of Hotwire. It unlocks progressive enhancement of native components in Turbo Native apps.
But there are a few hoops you need to jump through to use it. This is especially true when working with Turbo Navigator.
Turbo Navigator is a drop-in class for Turbo Native apps to handle common navigation flows. It removes 100+ lines of boilerplate and will be upstreamed into turbo-ios soon.
Earlier this week someone asked for help integrating Strada with Turbo Navigator. This made me realize it isn’t as straightforward as my response made it seem!
So here’s a step-by-step guide to integrating Strada with Turbo Navigator.
Getting started
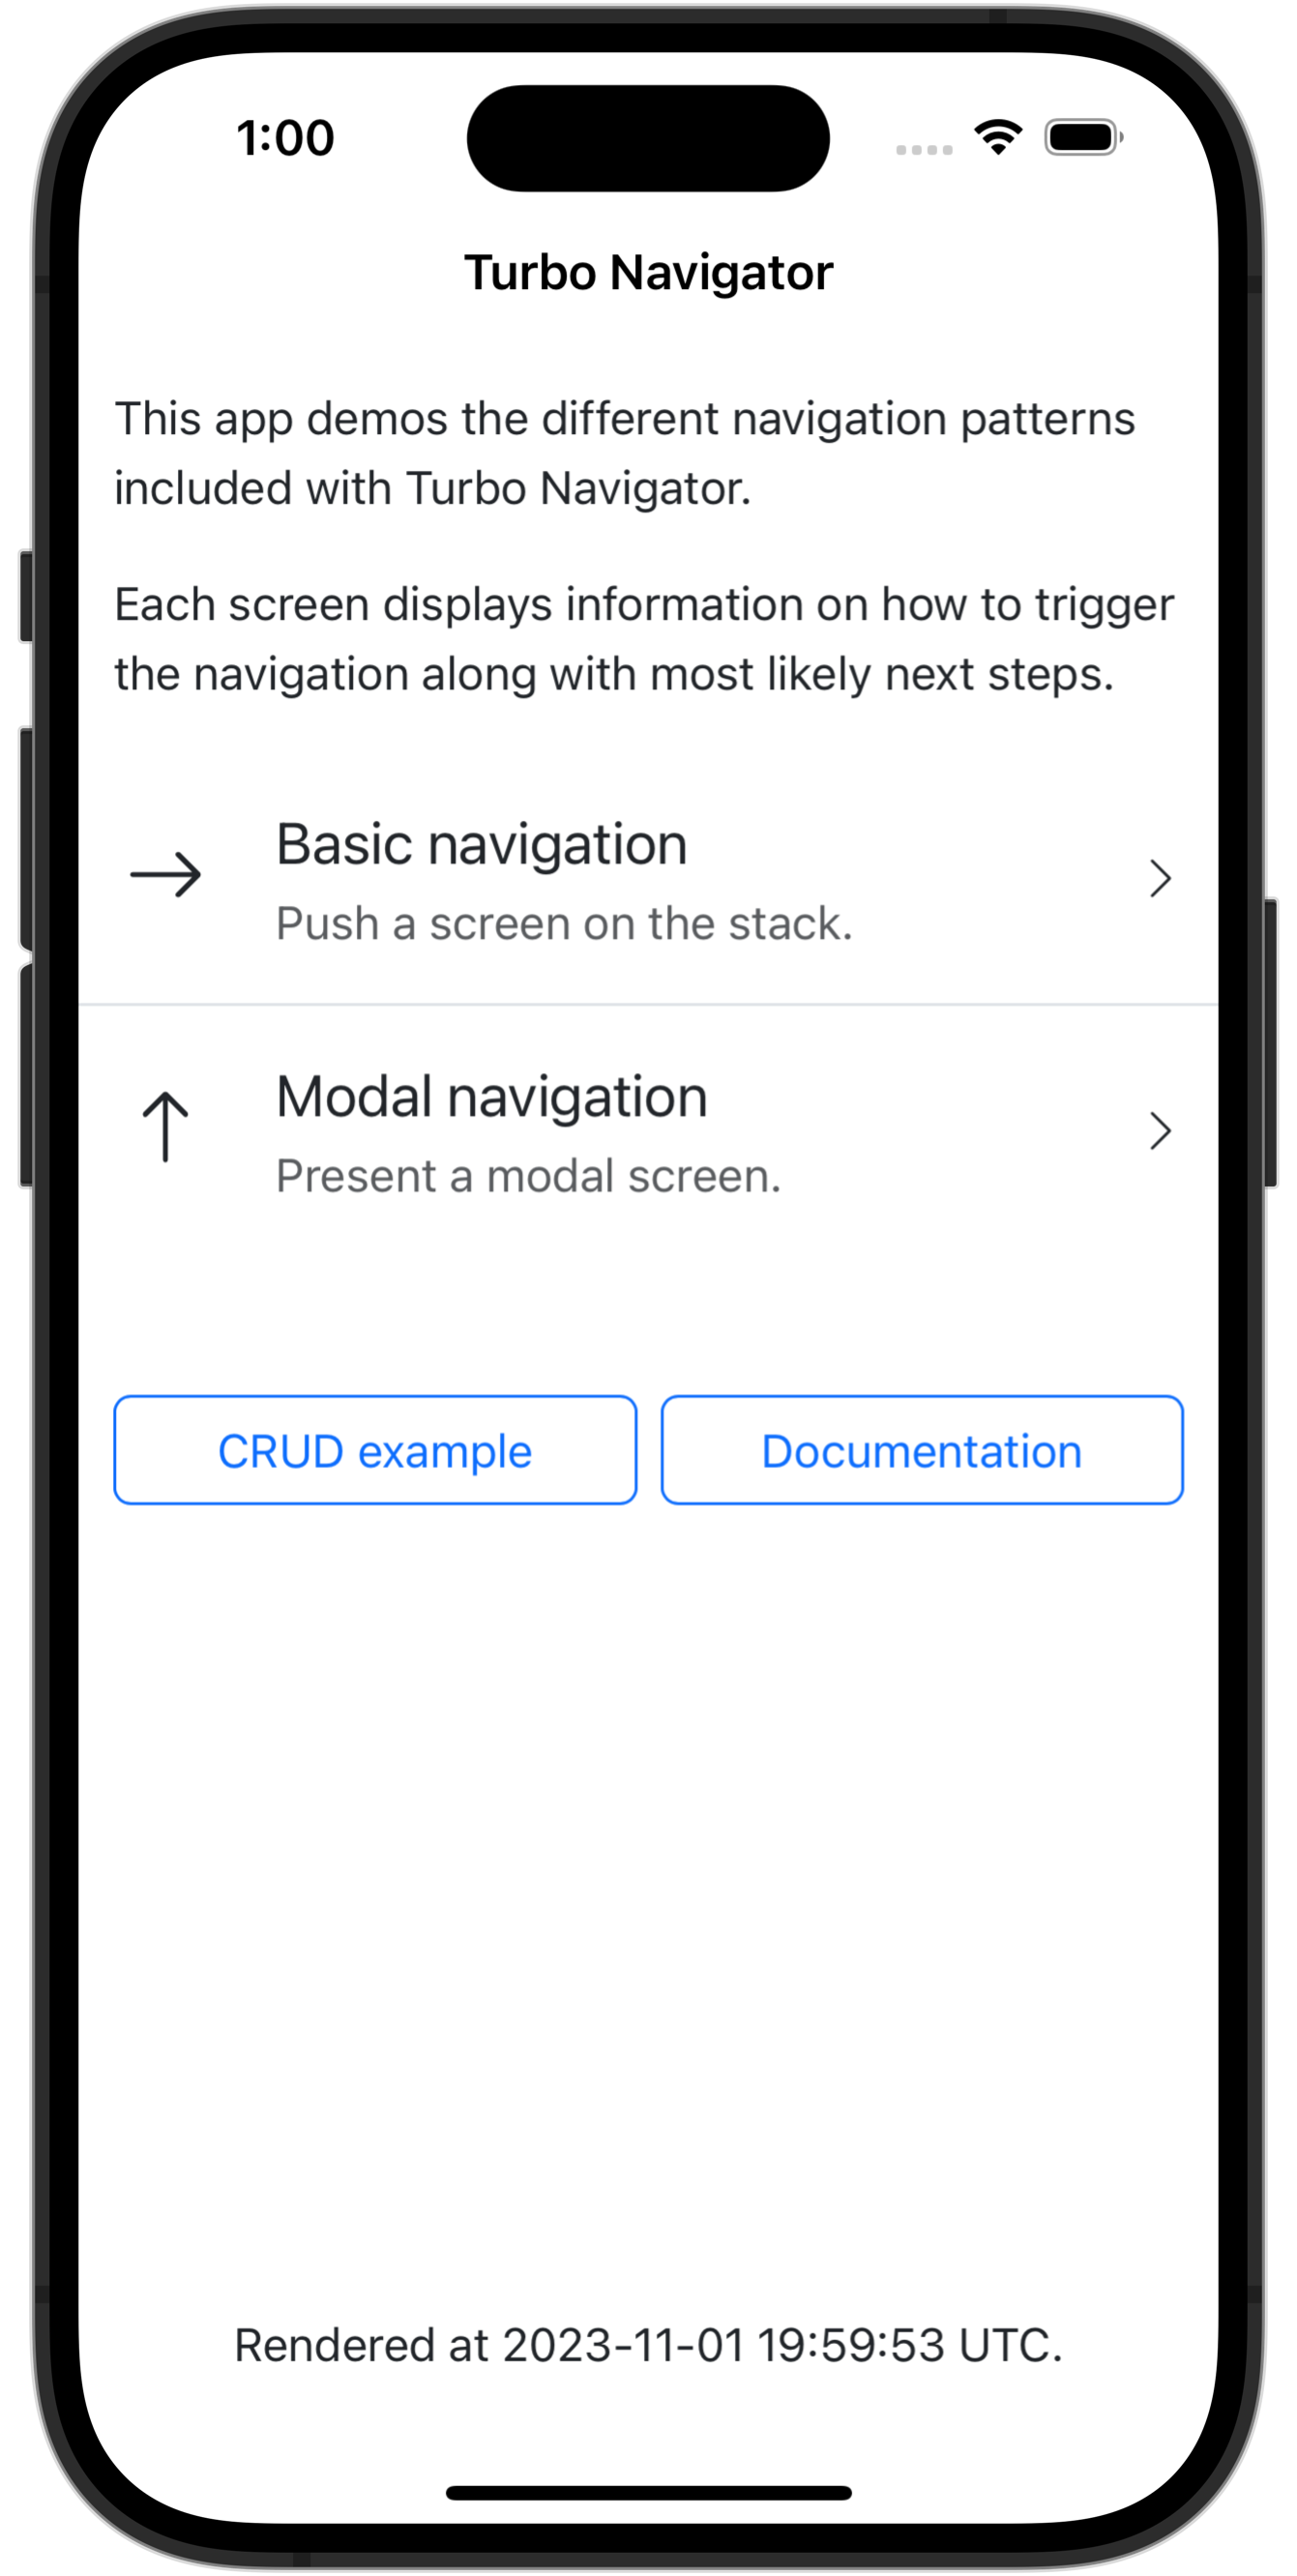
We will start with the demo iOS and Rails app included with Turbo Navigator. Clone the project to your machine from the GitHub repo.
Open Demo/Demo.xcodeproj in Xcode and start the Rails server located at Demo/Server/ via bin/dev.
Launch the app in Xcode via Product → Run or with ⌘ + R. You should see the home screen of the Rails server launch in the iOS Simulator.
With everything running we can start integrating Strada, first on the server then in the app.
Integrate Strada with our Rails app
Integrating Strada with our Rails app requires three steps:
- Add the JavaScript package
- Create a Strada component
- Wire up the component
1. Add the JavaScript package
To add the JavaScript package we run the following from the Demo/Server/ directory.
yarn add @hotwired/strada
Note that if you are using importmap in your Rails app you would instead run:
bin/importmap pin @hotwired/strada
2. Create a Strada component
Next, create a new Strada component. Use the Stimulus generator to build an empty Stimulus controller nested under the bridge/ subdirectory.
bin/rails generate stimulus bridge/hello
Update the controller to following, the bare minimum needed. When connected, this component will fire the "connect" message to our iOS app.
// app/javascript/controllers/bridge/hello_controller.js

import { BridgeComponent } from "@hotwired/strada"

export default class extends BridgeComponent {
  static component = "hello"

  connect() {
    super.connect()

    this.send("connect", {}, () => {
    })
  }
}
3. Wire up the component
Our last step on the server is to add the HTML markup needed to connect the controller. Add the following to the top of the navigations show template. Note the double dashes that namespace to our bridge/ directory.
<!-- app/views/navigations/show.html.erb -->

<div data-controller="bridge--hello">
Integrate Strada with our iOS app
Integrating Strada with our iOS app requires a bit more work, six steps in total:
- Add the Swift package
- Create a Strada component
- Register the component
- Create a Strada-enabled view controller
- Configure the web view for Strada
- Tell Turbo Navigator to use the new view controller
But there’s good news! If you’ve followed the official Strada Quick Start Guide you can skip all the way to step 5.
1. Add the Swift package
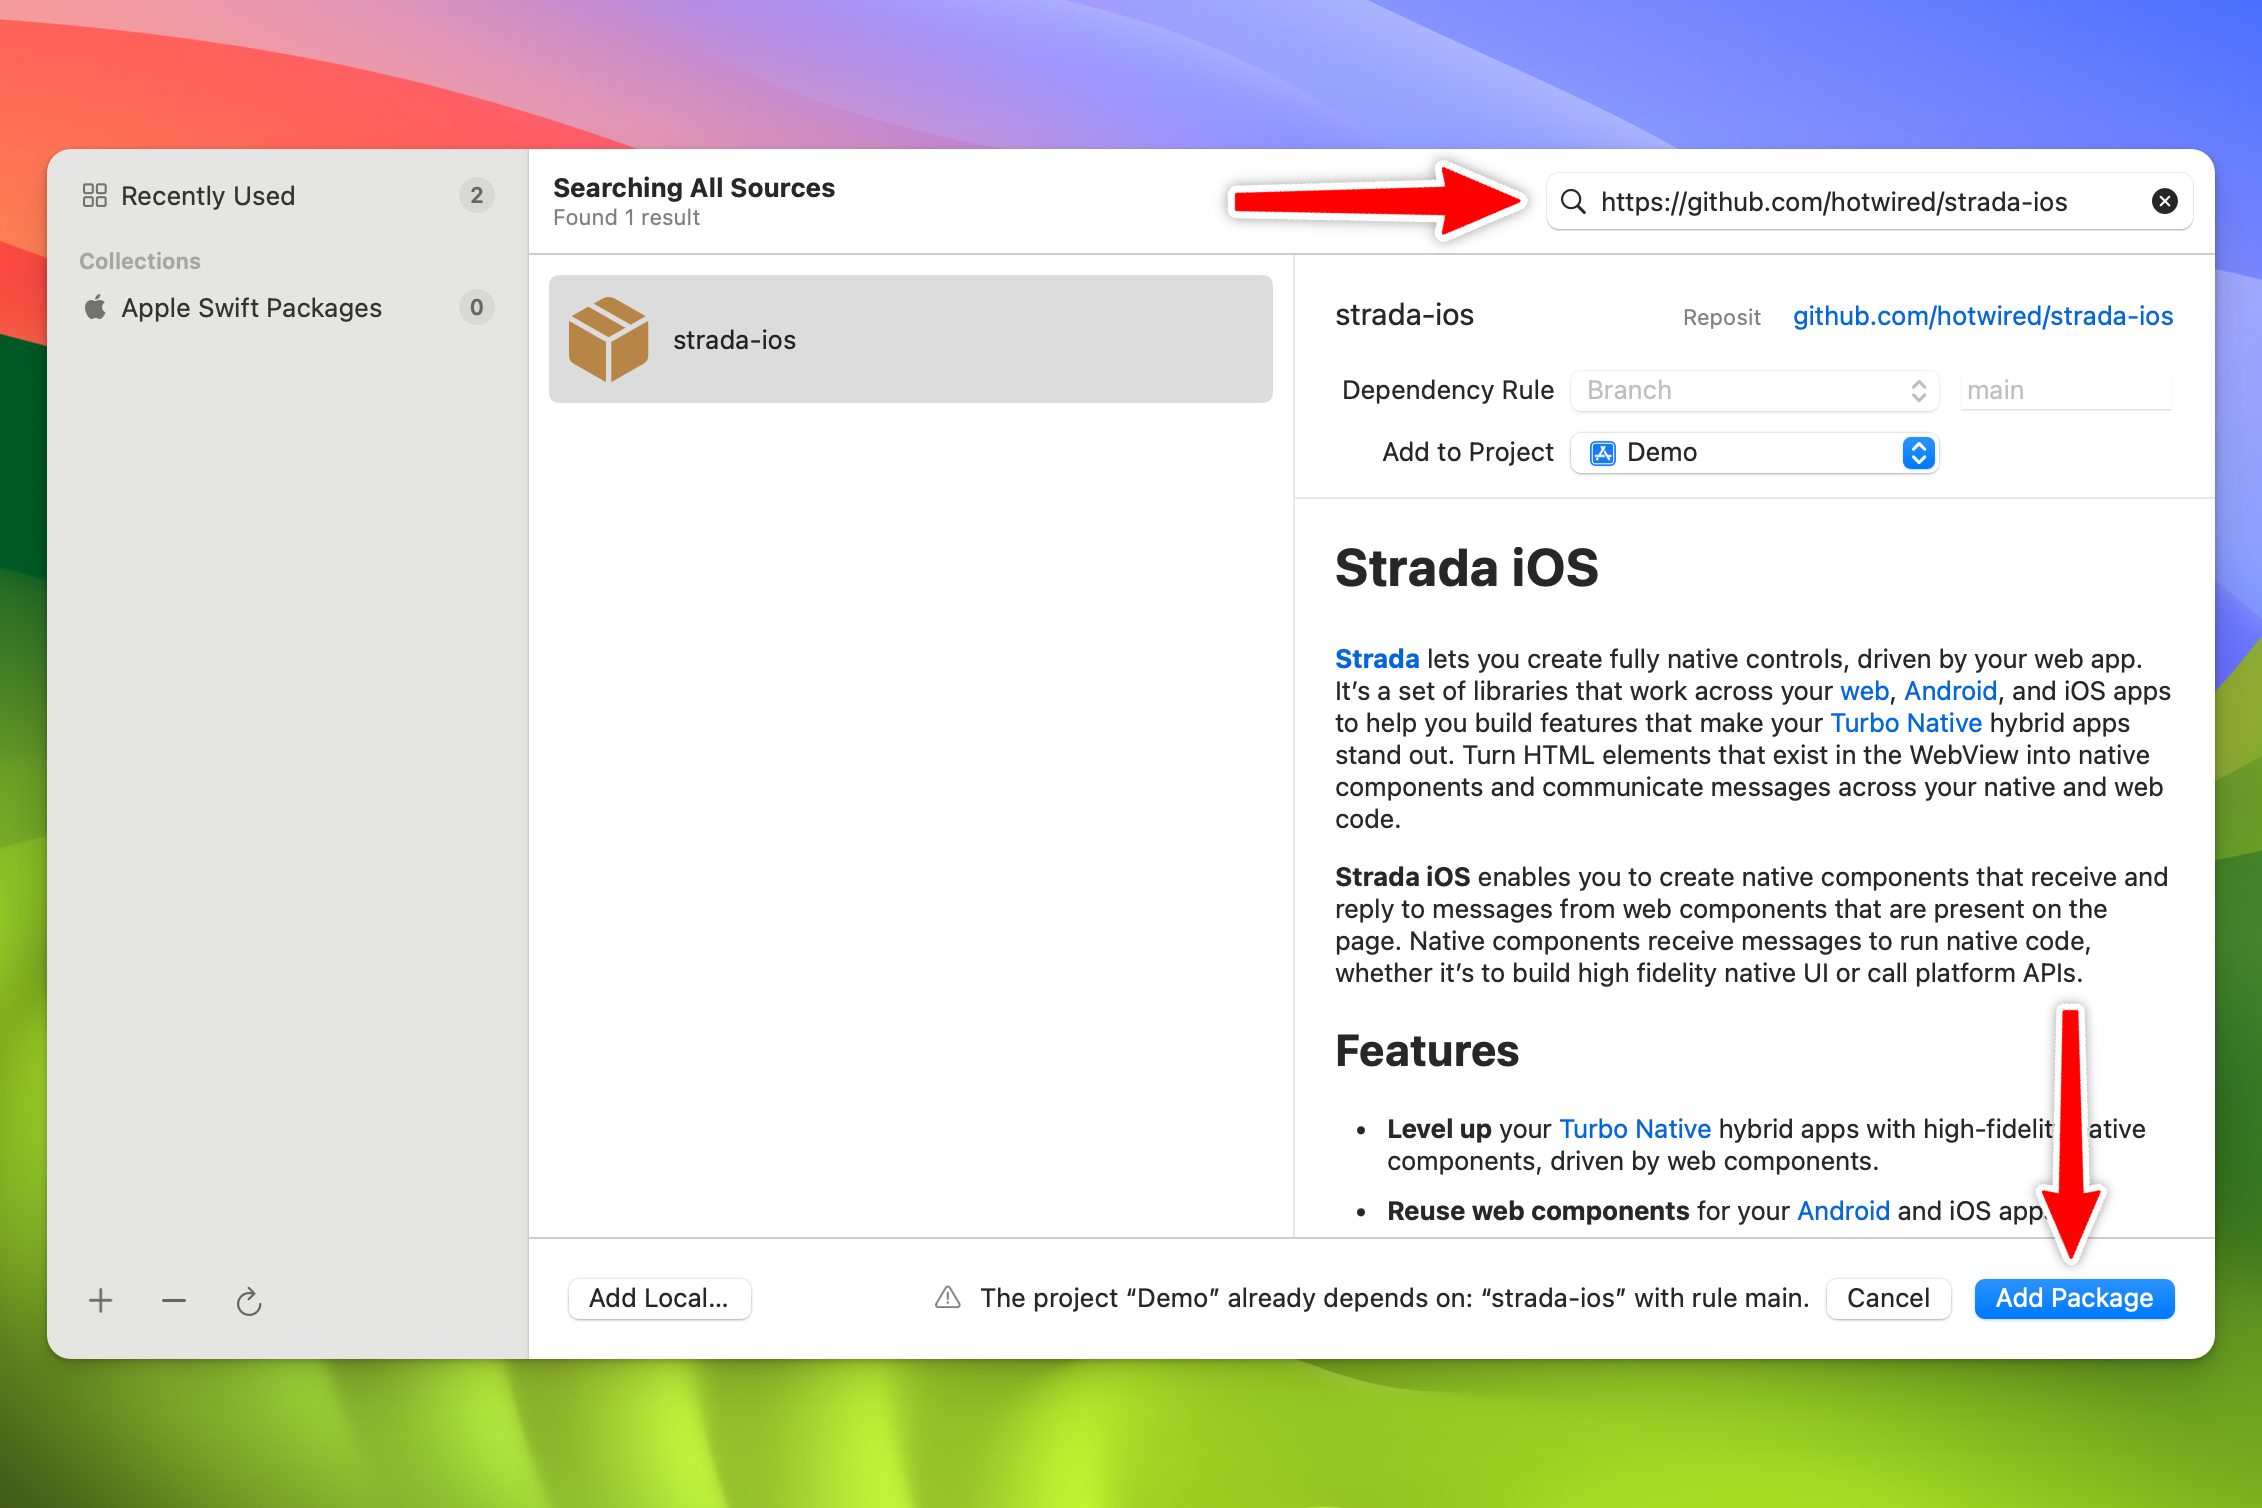
Open the Xcode project and click File → Add Package Dependencies…
Copy-paste the strada-ios URL in the upper right and click Add Package.
https://github.com/hotwired/strada-ios
2. Create a Strada component
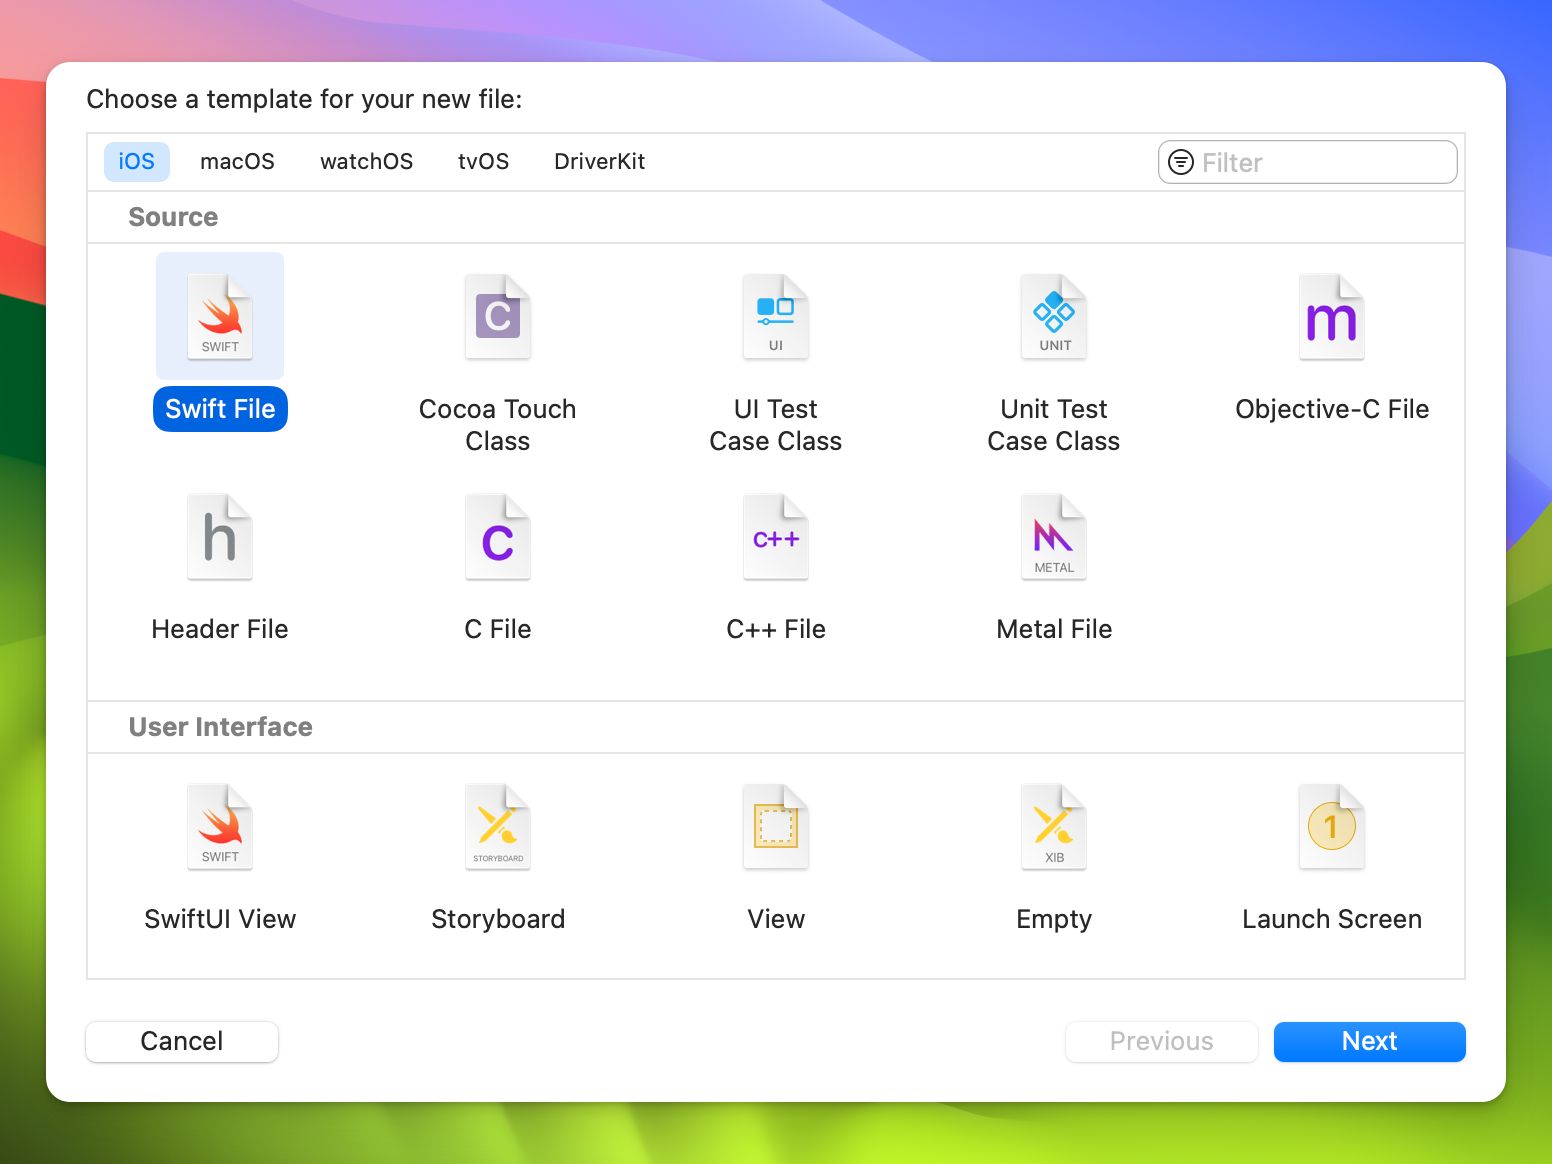
Create a new file by right-clicking the Demo group on the left and clicking New File… Select Swift File from the iOS tab and click Next.
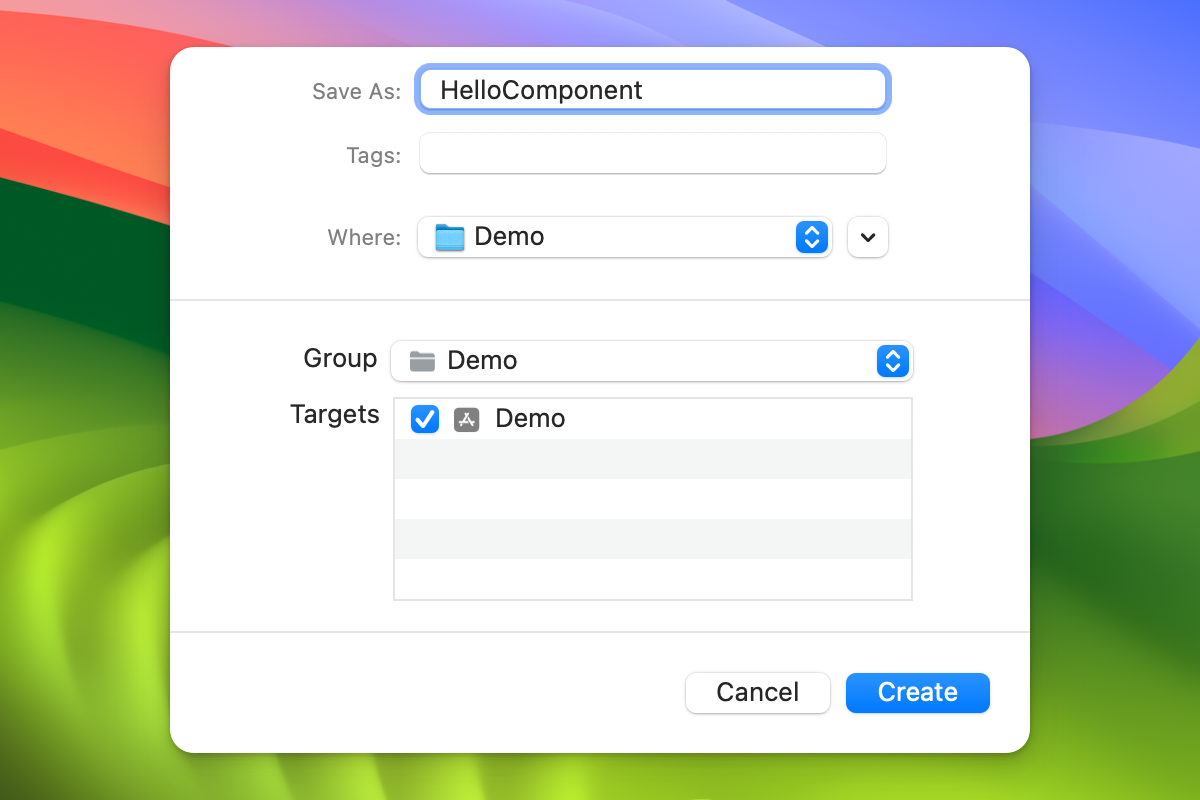
Name this file HelloComponent and click Create.
Replace the contents of this file with the following. This registers a native component with the "hello" name to match the Stimulus controller we built in Rails. Any time a message is received it will log to the console.
// HelloComponent.swift

import Strada

class HelloComponent: BridgeComponent {
    override class var name: String { "hello" }

    override func onReceive(message: Message) {
        print(#function, message)
    }
}
3. Register the component
Create another Swift file and name it BridgeComponent+App. Replace the contents with the following. This holds a global reference to all of our Strada components to refer to later.
// BridgeComponent+App.swift

import Strada

extension BridgeComponent {
    static var allTypes: [BridgeComponent.Type] {
        [
            HelloComponent.self
        ]
    }
}
4. Create a Strada-enabled view controller
Create a third Swift file and name this one TurboWebViewController. Replace the contents with the following, taken directly from the Quick Start Guide. This controller helps bridge the gap to Strada, passing along view lifecycle events.
// TurboWebViewController.swift

import Strada
import Turbo
import WebKit

final class TurboWebViewController: VisitableViewController, BridgeDestination {
    private lazy var bridgeDelegate = BridgeDelegate(
        location: visitableURL.absoluteString,
        destination: self,
        componentTypes: BridgeComponent.allTypes
    )

    // MARK: View lifecycle

    override func viewDidLoad() {
        super.viewDidLoad()
        bridgeDelegate.onViewDidLoad()
    }

    override func viewWillAppear(_ animated: Bool) {
        super.viewWillAppear(animated)
        bridgeDelegate.onViewWillAppear()
    }

    override func viewDidAppear(_ animated: Bool) {
        super.viewDidAppear(animated)
        bridgeDelegate.onViewDidAppear()
    }

    override func viewWillDisappear(_ animated: Bool) {
        super.viewWillDisappear(animated)
        bridgeDelegate.onViewWillDisappear()
    }

    override func viewDidDisappear(_ animated: Bool) {
        super.viewDidDisappear(animated)
        bridgeDelegate.onViewDidDisappear()
    }

    // MARK: Visitable

    override func visitableDidActivateWebView(_ webView: WKWebView) {
        bridgeDelegate.webViewDidBecomeActive(webView)
    }

    override func visitableDidDeactivateWebView() {
        bridgeDelegate.webViewDidBecomeDeactivated()
    }
}
5. Configure the web view for Strada
Back in our scene delegate we need to configure Strada to use our components. Create a new private function with the following. Don’t forget to import Strada and WebKit at the top!
// SceneDelegate.swift

import Strada
import WebKit

class SceneDelegate: UIResponder, UIWindowSceneDelegate {
    /* ... */

    private func configureStrada() {
        TurboConfig.shared.userAgent += " \(Strada.userAgentSubstring(for: BridgeComponent.allTypes))"

        TurboConfig.shared.makeCustomWebView = { configuration in
            let webView = WKWebView(frame: .zero, configuration: configuration)
            Bridge.initialize(webView)
            return webView
        }
    }
}
Call this function in scene(_:willConnectTo:options:) right after the guard statement. This ensures Strada is configured before we actually route the URL.
// SceneDelegate.swift

class SceneDelegate: UIResponder, UIWindowSceneDelegate {
    /* ... */

    func scene(_ scene: UIScene, willConnectTo session: UISceneSession, options connectionOptions: UIScene.ConnectionOptions) {
        guard let windowScene = scene as? UIWindowScene else { return }

        configureStrada()  // <-- Add this line.

        self.window = UIWindow(windowScene: windowScene)
        self.window?.makeKeyAndVisible()

        self.window?.rootViewController = self.turboNavigator.rootViewController
        self.turboNavigator.route(baseURL)
    }

    /* ... */
}
6. Tell Turbo Navigator to use the new view controller
Finally, we to tell Turbo Navigator to use our TurboWebViewController when visiting pages.
Implement handle(proposal:) in the extension at the bottom of our scene delegate. Use the .acceptCustom option to return an instance of our new controller.
// SceneDelegate.swift

extension SceneDelegate: TurboNavigationDelegate {
    func handle(proposal: VisitProposal) -> ProposalResult {
        .acceptCustom(TurboWebViewController(url: proposal.url))
    }
}
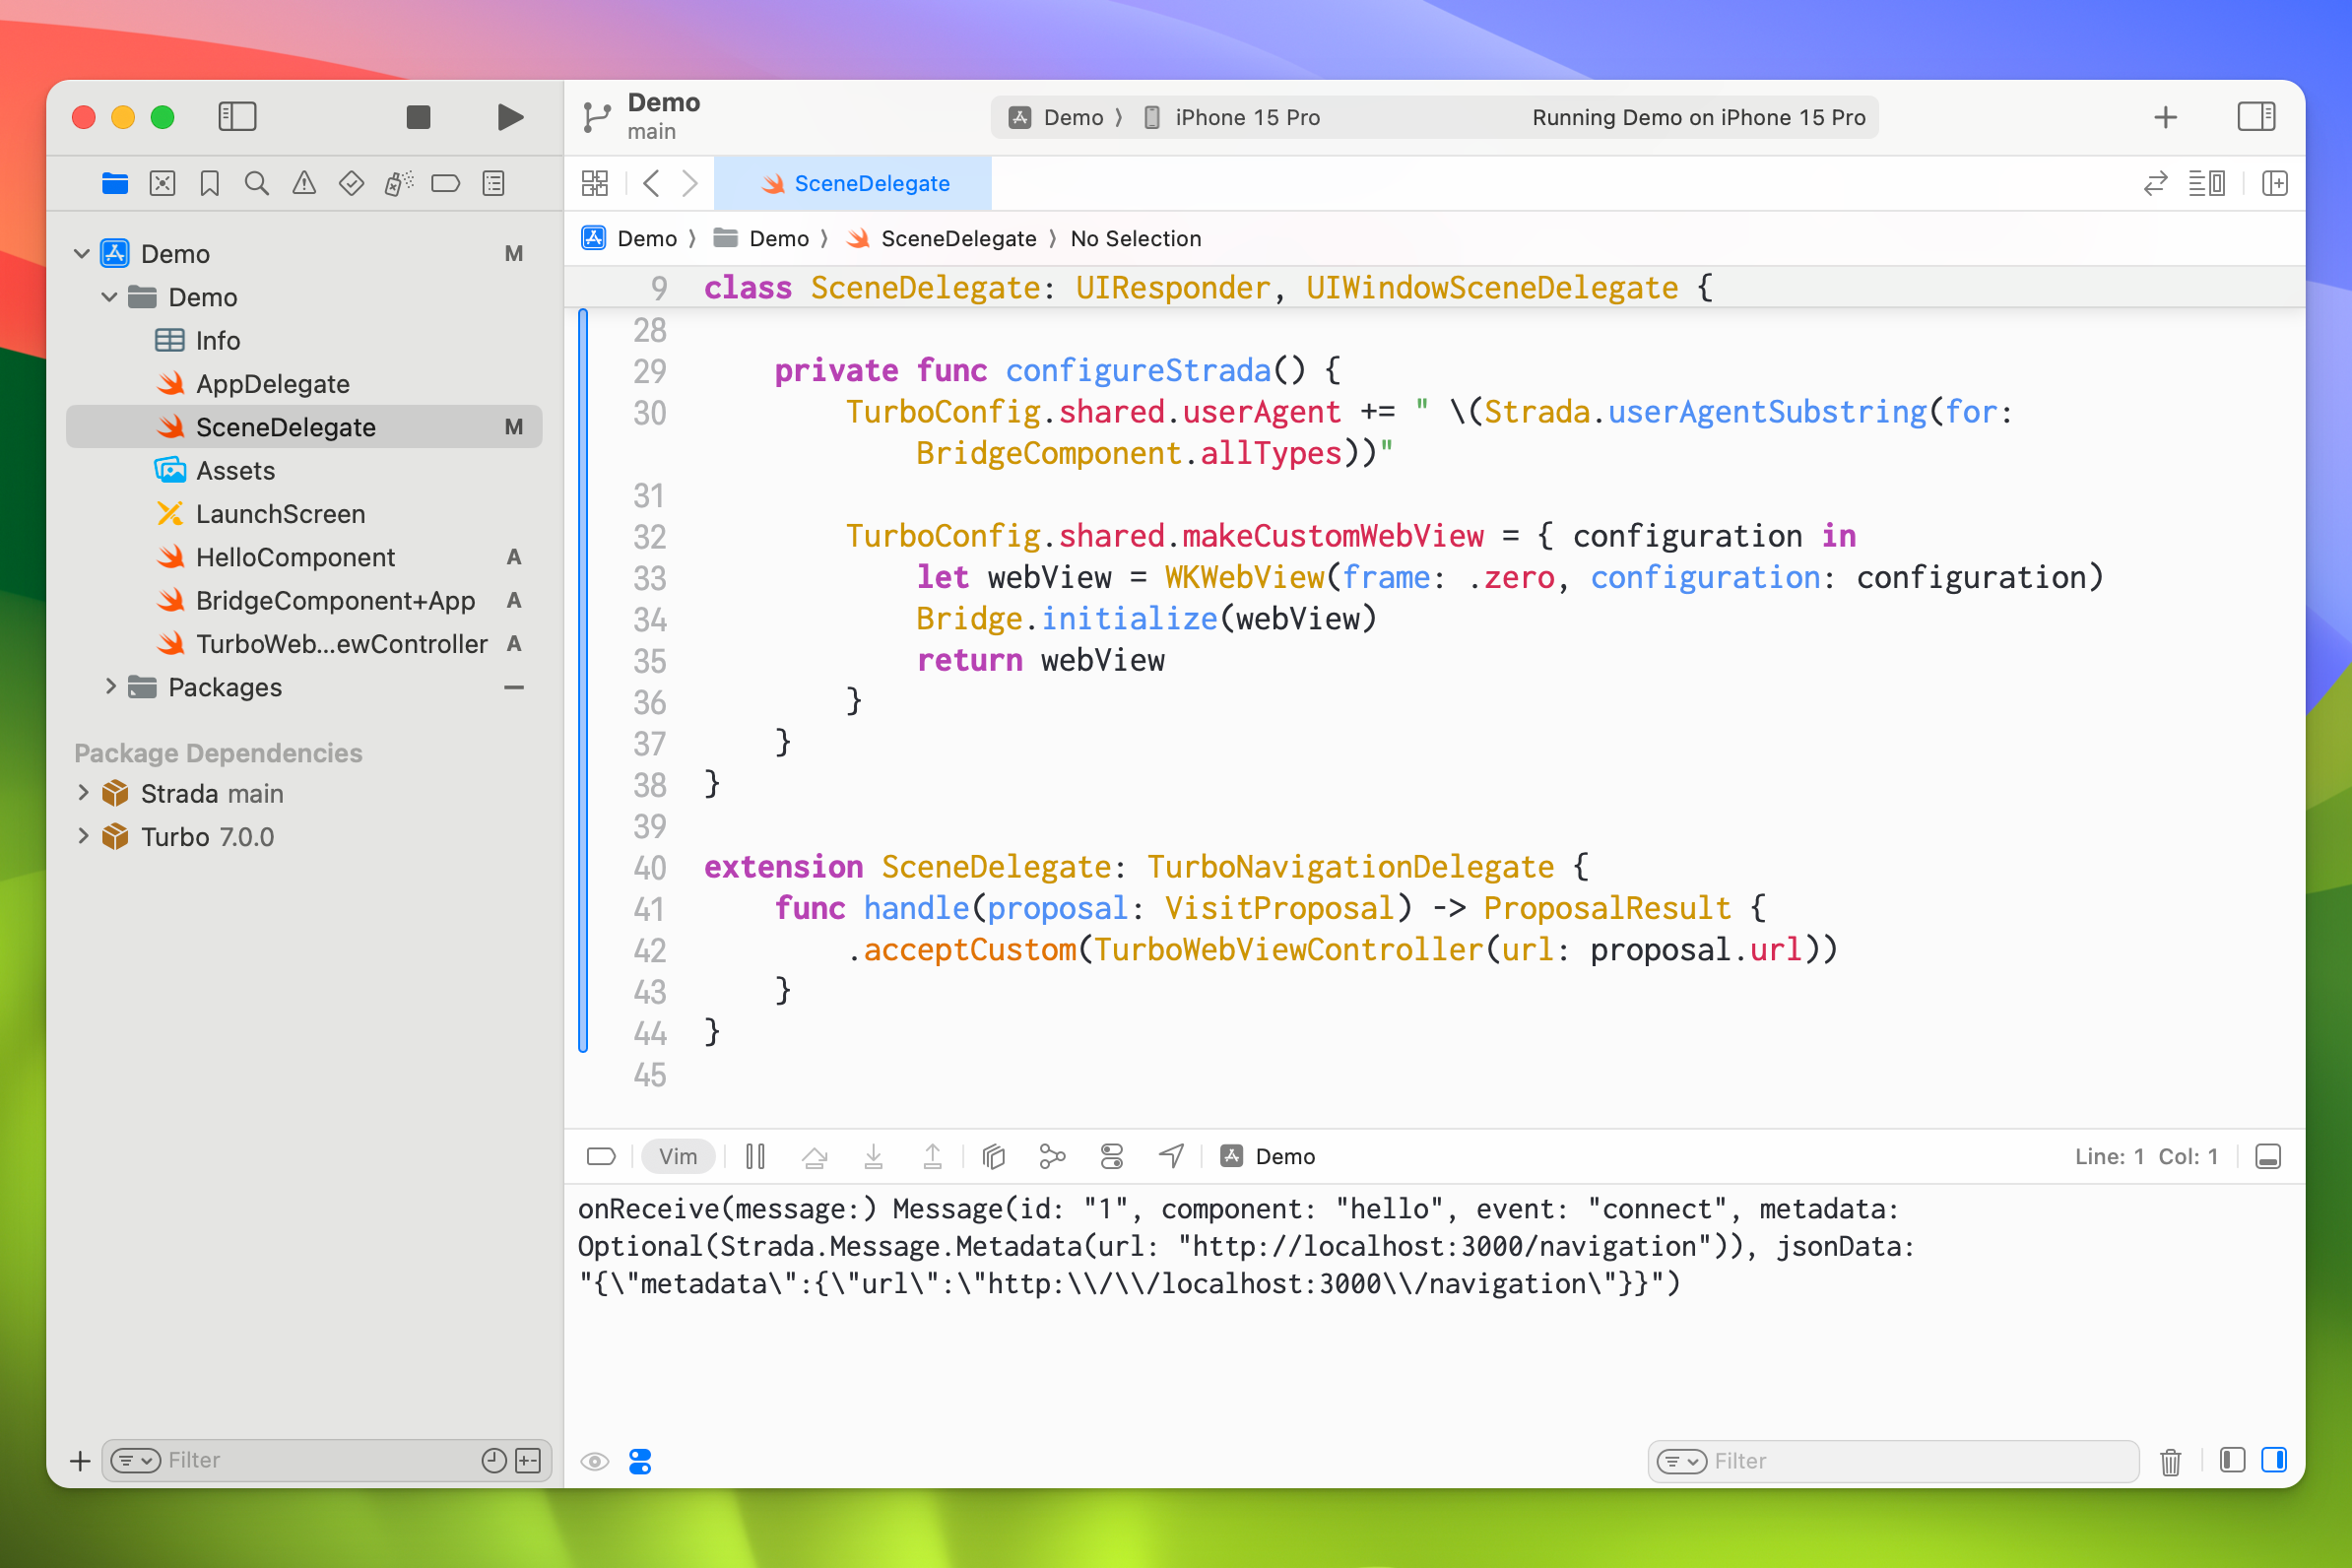
Testing the integration
Run the app in Xcode and click on the Basic navigation link. If all went well you should see the following in the Xcode logs when the page loads.
If you don’t see the debug area then click View → Debug Area → Show Debug Area.
If you’re not seeing this then then try enabling Strada’s debug logging. Add this to the top of the configureStrada() function.
Strada.config.debugLoggingEnabled = true
What’s next?
Integrating Strada requires multiple steps to get started. And an additional two for Turbo Navigator projects. At least once initially configured adding additional components only requires the component file and referencing it in BridgeComponent+App.
But I feel like that is still too much work. And I’m hoping to change that.
I’m working on something that will make it even easier to integrate Strada into Turbo Native apps. Subscribe to my newsletter to be the first to know when I release something public!