Three ways UI Testing just made test-driven development even better
With every Xcode UI Testing is getting better. As of Xcode 12, UI Testing has become my go-to feature testing framework on iOS. Combined with XCTest for unit testing, it’s becoming easier to not have to rely on any third-party frameworks. The three big reasons UI Testing offers a huge improvement to TDD on iOS are:
- Generic querying syntax
- First-class support from Apple
- Native asynchronous assertions

1. Generic querying syntax #
UI Testing uses XCUIElementQuery to query elements in the app’s view hierarchy. The syntax creates a buildable set of instructions to drill down to different parts of the screen.
app.labels.elementreturns the one and onlyUILabelapp.buttons["Save"]returns the “Save” button (via accessibility)app.cells[4]returns the fifth table view cell
See more UI Testing examples and documentation.
The view hierarchy doesn’t matter #
Let’s try asserting that a label changes after tapping a button. Our first pass at a failing test could look like this.
app.buttons["Ignite"].tap()
XCTAssert(app.labels["On Fire!"].exists)
While this might look trivial, that’s the point! We don’t care where on the screen the label or button are. We don’t even care who they belong to. The button could be nested in a child view controller and the label on one half of a split view controller.
We write our tests as if our user were a caveman. “Touch Ignite button. See On Fire!” Our user doesn’t care how the code is written to lay the views out, so why should our tests?
Internal views don’t need to be exposed #
You no longer have to expose views to the public interface just to test them. This keeps your interface clean to consumers without having to muddy it up with “testable” outlets.
By taking advantage of the @testable macro you could still get stuck in a small pitfall. There is no guarantee the view is actually on the screen when running assertions. This means you have all of your tests passing without ever showing anything to the user. By querying the view hierarchy, you are guaranteed that what you see is what you test.
When using a generic querying syntax you never have to know the exact view hierarchy. This means you could refactor your custom controls without having to change your tests. Imagine adding a contentView to wrap a few labels in a view. Now your tests don’t need to change to reflect this implementation detail.
You should never have to know where things are going to be when writing your tests first. Sure, we can make assumptions on the layout or design, but if we don’t have to, why should we? By querying our view in a generic fashion we create confidence that we have written good tests.
2. First-Class Support from Apple #
Testing became a first-class citizen at WWDC 2015. Apple introduced both @testable and UI Testing along with a few improvements to XCTest.
Since UI Testing is built by Apple there’s no need to rely on any third parties. This gives us a couple of benefits. First off, we can now receive first class support via the standard bug reporting and developer forum outlets. Second, no third party dependencies are needed in our code. Combining XCTest, @testable, and UI Testing, we can test-drive an iOS app from feature to unit, all without having to download a separate package.
Since we are no longer relying on open source frameworks or tools, we have a much higher probability that things won’t break between OS releases. If you’ve ever tried updating Frank or KIF from iOS 7 to 8, you can relate. These frameworks tend to lag behind the newest releases for months. And it’s not that they don’t try, but by relying on private frameworks and implementations you are bound to have to re-implement every time a major change rolls through.
3. Native asyncronous assertions #
Before native support a lot of developers, myself included, were inclinded to manually tick the run loop. The general idea is run an assertion over and over again while letting time pass just the tiniest bit in the app. If the assertion is still failing after five seconds or so, fail the test.
// Don't do this any more!
let startTime = NSDate.timeIntervalSinceReferenceDate
let element = app.staticTexts["Wait for me"]
while (!element.exists) {
    if (NSDate.timeIntervalSinceReferenceDate - startTime > 5.0) {
    XCTFail("Timed out waiting for element to exist.")
  }
    CFRunLoopRunInMode(CFRunLoopMode.defaultMode!, 0.1, (0 != 0))
}
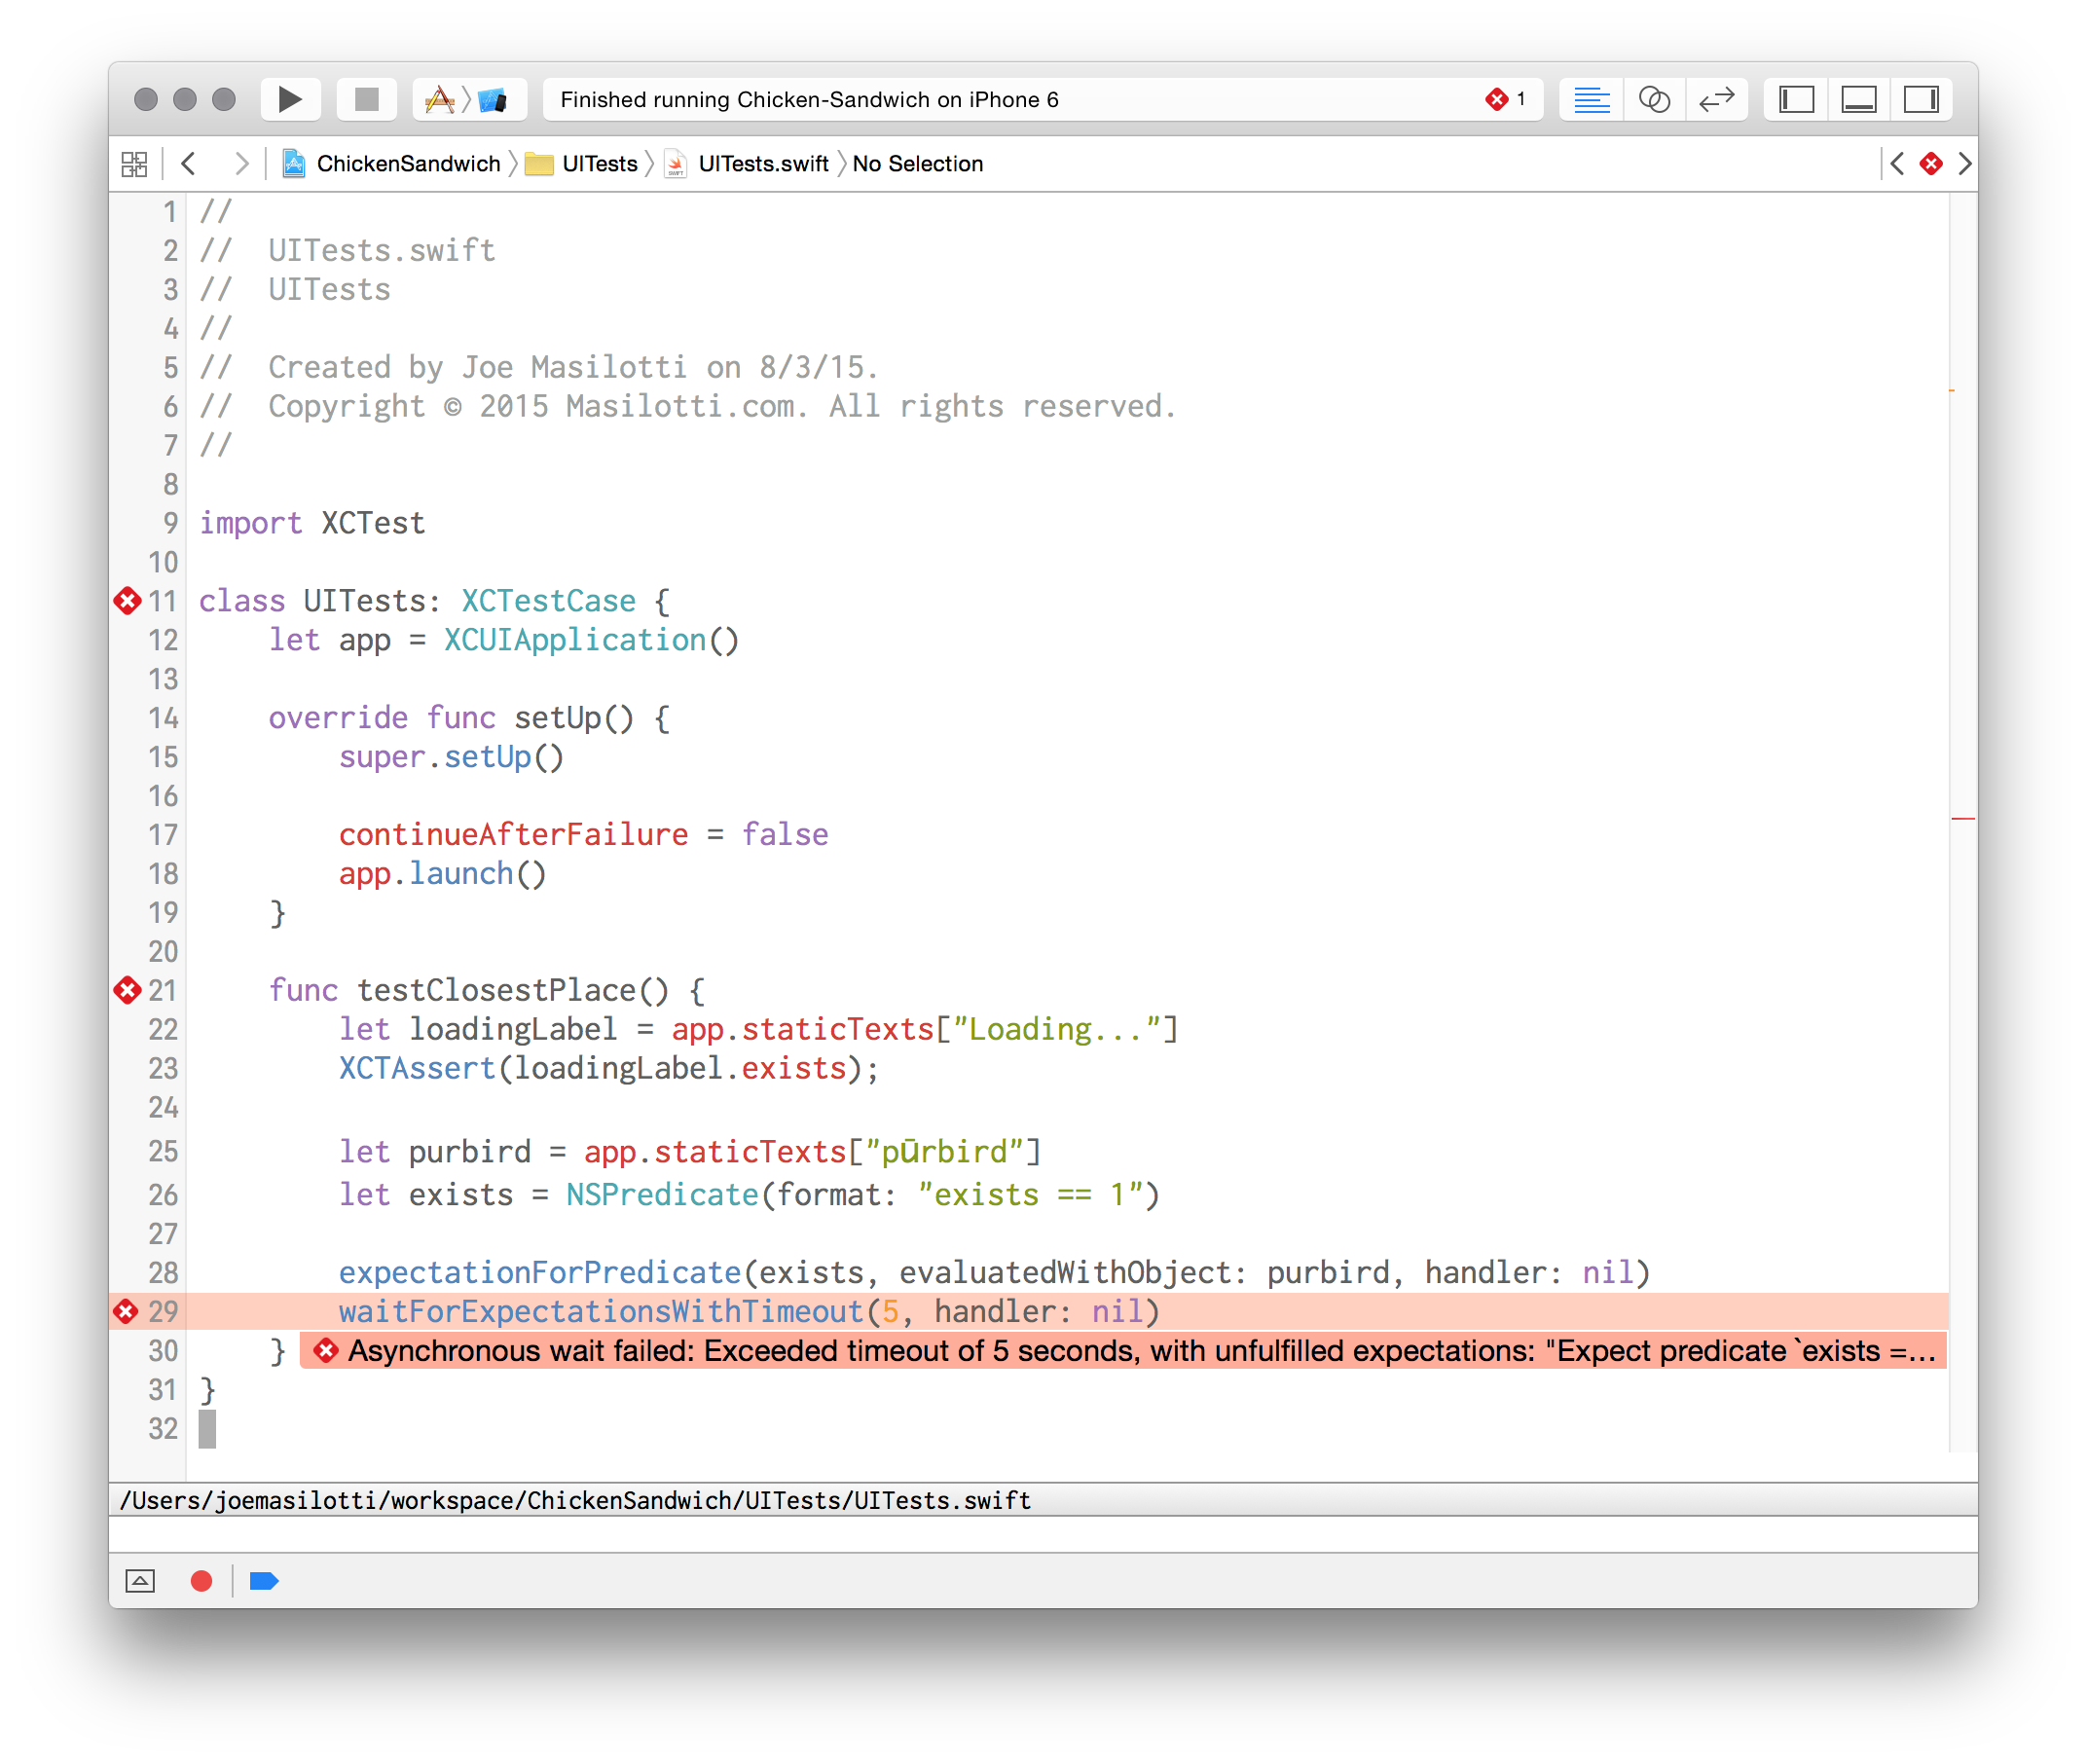
Being built on top of XCTest, we can take advantage of the asynchronous testing methods. Just like waiting for callbacks to fire, you can wait for predicates to resolve.
Let’s wait for a label to appear.
let label = app.staticTexts["Hello, world!"]
XCTAssert(label.waitForExistence(timeout: 5))
If five seconds pass before the expectation is met then the test will fail. You can also attach a handler block in that gets called when the expectation fails or times out.
The big benefit here is that Xcode is attached to the app’s run loop. There is no need to tick it manually while running an assertion over and over again. Manually messing with the run loop has never been a good idea; a lot of bugs in third-party frameworks can be traced back to doing just that.
