
Hybrid iOS apps with Turbo Native The Turbo Framework
Native apps are hard. They are expensive to build and even more expensive to maintain. Every time you release a feature on the web, you also need to add it to each of your mobile apps.
What if that wasn’t the case? What if every time you built a new workflow in your Rails app, your mobile app got that feature for free? And you didn’t even need to go through App Store approval?
This is possible with Turbo, a small framework from the geniuses at Basecamp – the same technology that powers their mobile app, Hey, and countless other apps.
This is the first post in a series on how to build high-fidelity, hybrid iOS apps with Turbo and Ruby on Rails. It covers the benefits of Turbo-powered hybrid apps and how to get up and running.
This is part of a 6-part series on Hybrid iOS apps with Turbo Native.
- Hybrid iOS apps with Turbo – Part 1: The Turbo framework
- Hybrid iOS apps with Turbo – Part 2: URL routing
- Hybrid iOS apps with Turbo – Part 3: Forms and basic authentication
- Hybrid iOS apps with Turbo – Part 4: The JavaScript bridge
- Hybrid iOS apps with Turbo – Part 5: Native authentication
- Hybrid iOS apps with Turbo – Part 6: Tips and tricks
The power of hybrid…
Basecamp highlights four major benefits of a hybrid approach to your mobile apps. You’ll:
- Deliver fast, efficient hybrid apps.
- Reuse mobile web views across platforms.
- Enhance web views with native UI.
- Produce large apps with small teams.
The first three items are product features that enable the actual value, number four. I’ve solely maintained Turbo iOS apps for Rails applications with hundreds of controllers and models.
This means you don’t need to hire a team of iOS developers to build your app. You only need a solid understanding of the Turbo framework and a mobile web experience to build on top of.
…via the magic of Turbo
The magic of Turbo comes from its hands-off approach to rendering. All content is derived from the existing Rails application, instead of being rebuilt natively in Swift.
Very simply, Turbo lets you “wrap” your website in native chrome. It renders the web content inside of a web view with native navigation.
This means that all of the existing mobile web content can be used immediately when you create the iOS app. And any new web screens automatically “just work” in the app.
When you’re ready to level up a screen to native code, Turbo gives you hooks to set up your own custom view controllers. But this is entirely optional; lots of websites look great as is!
Apps powered by Turbo
Like Rails, Turbo was extracted from existing code at Basecamp. The team has been publicly using some form of Turbolinks since 2014. Basecamp’s mobile app and their new email service, Hey, are both powered by Turbo.
Wait, what’s the difference between Turbo and Turbolinks? In the context of hybrid apps, not much. Version 7 of Turbolinks was renamed to Turbo when Basecamp consolidated a few products into Hotwire. On the web, lots of new features were added.
Outside of official Basecamp apps, there are a number of independent hybrid apps powered by Turbo. I built BeerMenus’s iOS app in 2014 and officially jumped on the hybrid bandwagon. I also actively maintain Zaarly’s iOS app after building their first version in 2016.
Currently, I’m working with the fine folks at Hoist. They help people build successful home service businesses as quickly and painlessly as possible. A lot of design decisions and best practices expressed in this series were solidified while building this app.
Getting started with Turbo
Enough talk, let’s see some code! The Turbo wiki includes a quick start guide to Turbo. Let’s build that code snippet from scratch.
The first TestFlight build I uploaded for Hoist didn’t look too different from the following code!
1. Add the Turbo dependency
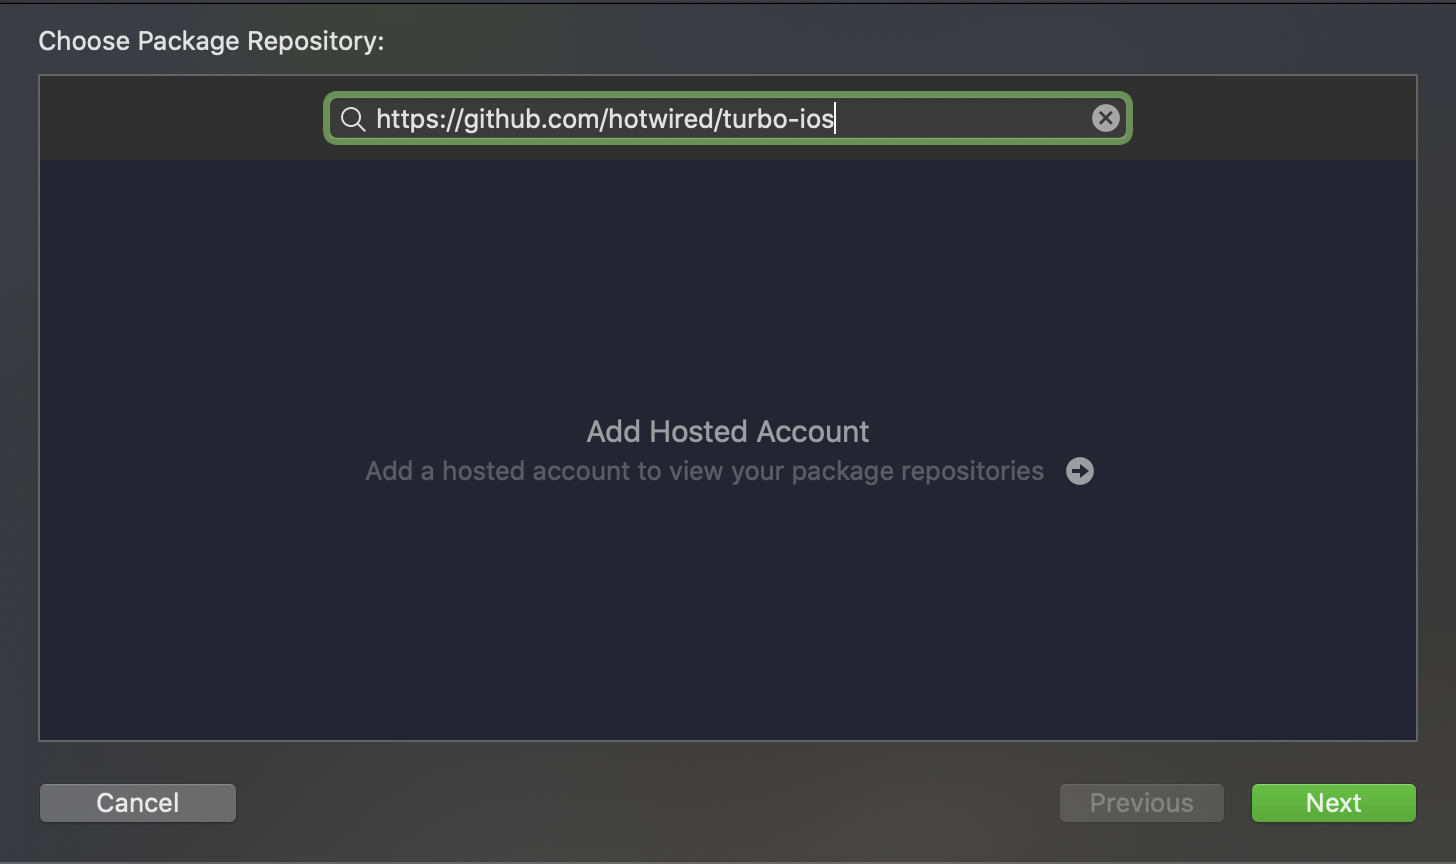
First, add the Turbo Swift package pointed to https://github.com/hotwired/turbo-ios. File -> Swift Packages -> Add Package Dependency… Since the package is technically still in beta, I’m pointing directly to the main branch. Feel free to leave the default and fetch up to the latest major release.
2. Create the core navigation
Then, open SceneDelegate, create a UINavigationController, and assign this to the window’s rootViewController. This will handle the main navigation of the app.
import UIKit

class SceneDelegate: UIResponder, UIWindowSceneDelegate {
    var window: UIWindow?
    let navigationController = UINavigationController()

    func scene(_ scene: UIScene, willConnectTo session: UISceneSession, options connectionOptions: UIScene.ConnectionOptions) {
        guard let _ = (scene as? UIWindowScene) else { return }
        window!.rootViewController = navigationController
    }
}
At the core of Turbo is the Session. This is responsible for making network requests and letting your code know when someone clicks a link or encounters an error.
3. Wire up the app to Turbo
Import the Turbo framework and create an instance of Session. Assign the SceneDelegate as the session’s delegate to get informed when a link is clicked.
import Turbo

class SceneDelegate {
    private lazy var session: Session = {
        let session = Session()
        session.delegate = self
        return session
    }()
}

extension SceneDelegate: SessionDelegate {
    func session(_ session: Session, didProposeVisit proposal: VisitProposal) {}
    func session(_ session: Session, didFailRequestForVisitable visitable: Visitable, error: Error) {}
}
We’ll get back to these callbacks in a second. For now, create a new helper function to perform a visit. A Visit in Turbo is essentially a click on a hyperlink, pretty much a web request.
4. Perform a Visit
This helper takes in a URL and passes it to the creation of a VisitableViewController. This comes from the Turbo framework and manages the shared web view, pull to refresh, and other minor details. All you need to know for now is that it renders the page.
Finally, tell the Session to visit this controller. Notice that the controller is visited, not a URL. This is a key concept in Turbo, where anything that conforms to the Visitable protocol can be visited via a Session. In this example we are using VisitableViewController, but you’re free to create your own.
class SceneDelegate {
    private func visit(url: URL) {
        let viewController = VisitableViewController(url: url)
        navigationController.pushViewController(viewController, animated: true)
        session.visit(viewController)
    }
}
To kick off our first request, call this new helper from scene(_:, willConnectTo:, options:). We are pointing to a demo web app from Basecamp that shows off a few of Turbo’s features.
class SceneDelegate {
    func scene(_ scene: UIScene, willConnectTo session: UISceneSession, options connectionOptions: UIScene.ConnectionOptions) {
        // ...
        visit(url: URL(string: "https://turbo-native-demo.glitch.me")!)
    }
}
Build and run the app and you should see the rendered page!

However, nothing else seems to work. Try clicking a link. Notice that nothing happens? Let’s revisit our SessionDelegate and implement those methods.
5. Implement SessionDelegate
extension SceneDelegate: SessionDelegate {
    func session(_ session: Session, didProposeVisit proposal: VisitProposal) {
        visit(url: proposal.url)
    }

    func session(_ session: Session, didFailRequestForVisitable visitable: Visitable, error: Error) {
        print(error)
    }
}
We can leverage the helper we created earlier to visit the new URL when someone clicks a link. Error handling will be explored in a future article.
Relaunch the app and try clicking around. Clicking links from the homepage should push a new controller on to the navigation stack. Just like a native app!
Hybrid app building blocks
Hopefully by now it’s clear how powerful Turbo is when backed by a robust mobile web site. Adding a new page to the demo app doesn’t require any changes to the client; it all just works.
Remember, the big value of hybrid is only having to make changes once. This is accomplished by moving as much logic as possible to the Rails app.
For example, you might want to present all forms modally. This follows iOS best practices and ties really nicely into Turbo’s Path Configuration. The best part is that once configured it doesn’t need to be adjusted for new workflows.
We’ve also built a JavaScript API to dynamically add navigation buttons to any screen in the app. We hook into a custom Stimulus controller and take advantage of SF Symbols on the client side. This gives us flexibility to change portions of the native UI without a client update and App Store review.
Tune in next week for…
Next week’s article is going to cover slightly more advanced Turbo topics and fix those broken links in the demo. We will also touch on routing via path configuration, bridging the gap with native controllers, and why forms don’t work.
Have you given hybrid a fair shot? What’s holding you back from porting your Ruby on Rails app to iOS? I’d love to know! Feel free to send me an email or reach out on Twitter.